
PARTS 1
Purchasing the Necessary Equipment
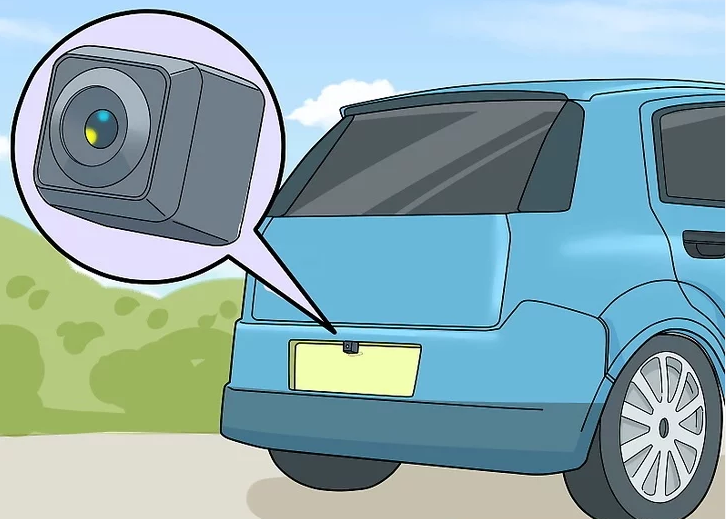
- Buy a mountable backup camera for your specific vehicle. For safety, make sure you purchase a device specifically designed to be a rear-view camera. Purchasing one made for your specific vehicle will make it easier to install than a standard aftermarket camera. So you can install it easily, look for a camera that mounts onto or directly behind your license plate.
- Get an external monitor if you want to keep your existing rear-view mirror.An external backup monitor is a small video screen that mounts onto your windshield similarly to a GPS. Though they take up more space than internal monitors, external monitors are far easier to see and can be easily replaced if necessary.
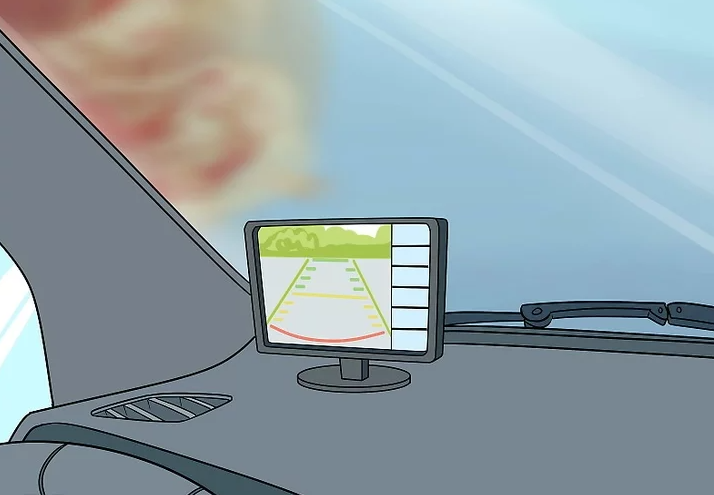
If you’d like, you can use a standard video monitor instead. However, keep in mind that it may not have all the same features as devices designed for use with backup cameras.
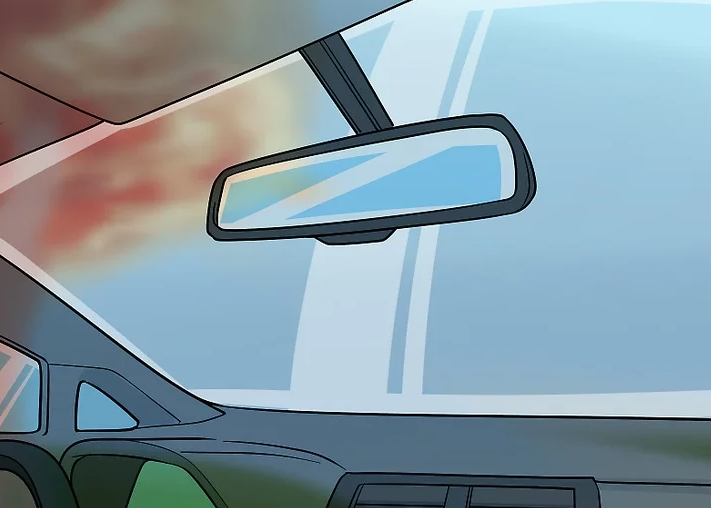
- Purchase an internal monitor for a less obtrusive device.An internal backup monitor is a fully functioning rear-view mirror that houses a small screen inside the glass. Some internal monitors clip on top of your current rear-view mirror, but others replace your original mirror entirely.
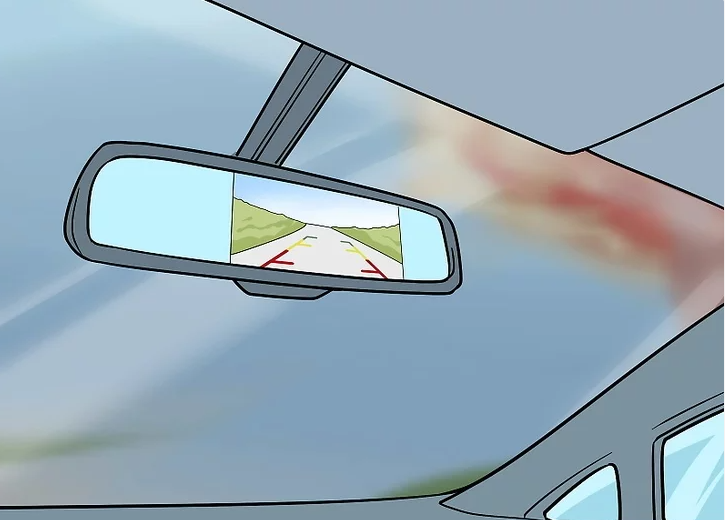
Most internal monitors shut off and disappear when not in use, making them a perfect option if you want to preserve your car’s looks.
- Buy power and video cords if your camera and monitor didn’t include them.For most rear-view camera installations, you’ll need camera and monitor splitter cords with connectors for video and power cables, 2 bare wire power cables, and an RCA video cable.
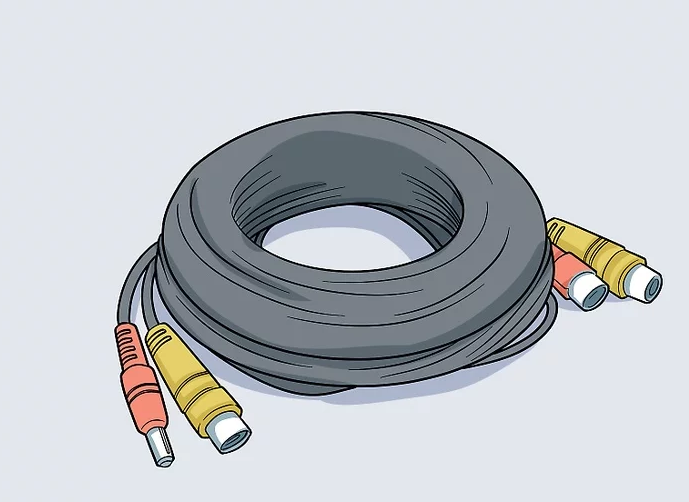
Most installation kits include these cables, but some may require you to purchase them separately.
Some camera models use wireless transmitters instead of standard video cables.
Part2
Installing the Camera Cables
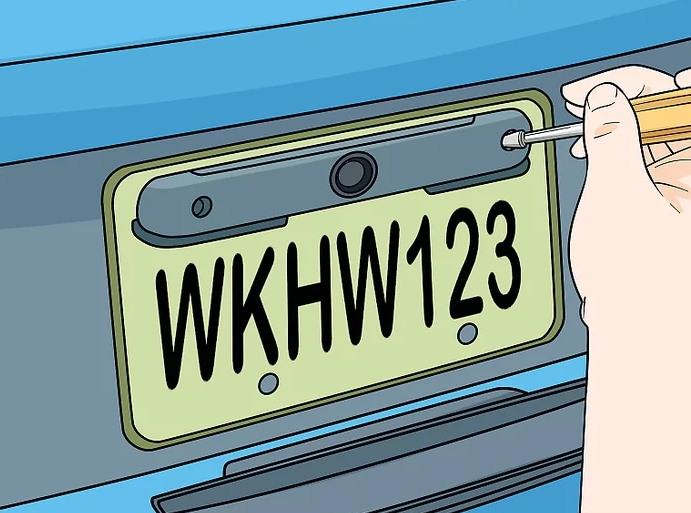
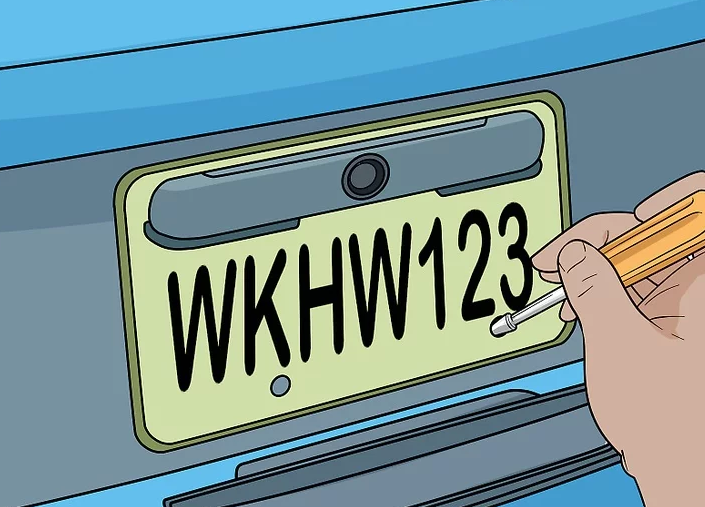
- Take off your rear license plate.Using a Phillips head screwdriver, remove each of the screws holding your rear license plate in place. Then, pull the plate off and set it aside.
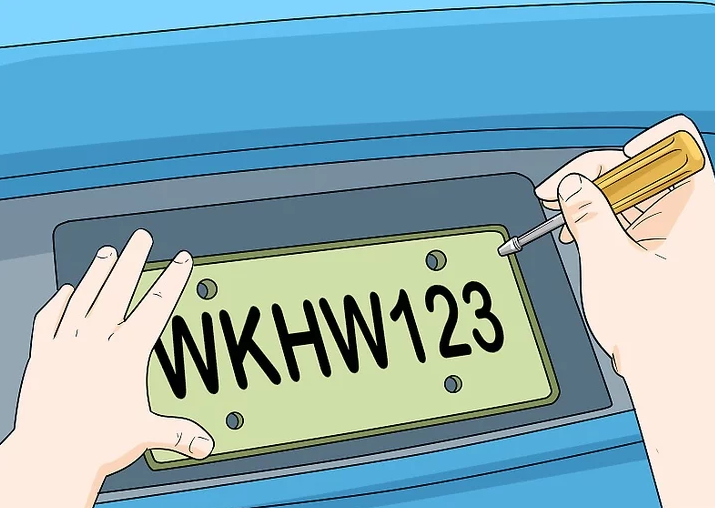
Make sure you place the screws in a safe place so you don’t lose them.
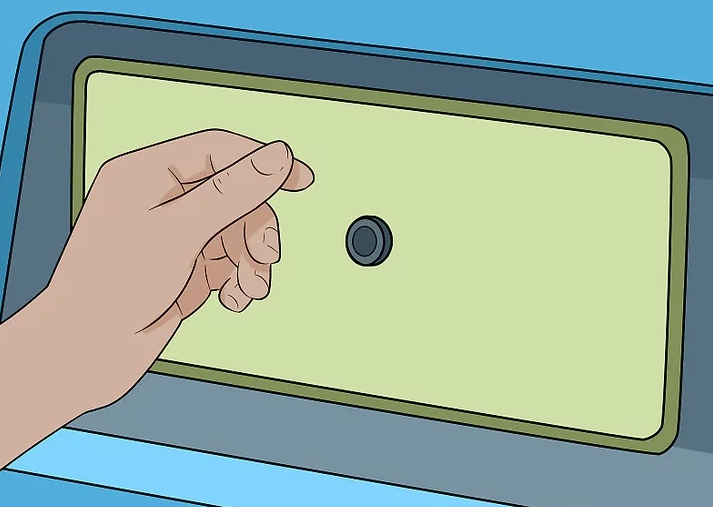
- Remove your trunk’s interior panel.Pop open your trunk and look for a solid interior panel covering the opposite side of your license plate mounting area. Then, insert a trim removal tool or other thin device behind the panel and pry it off.
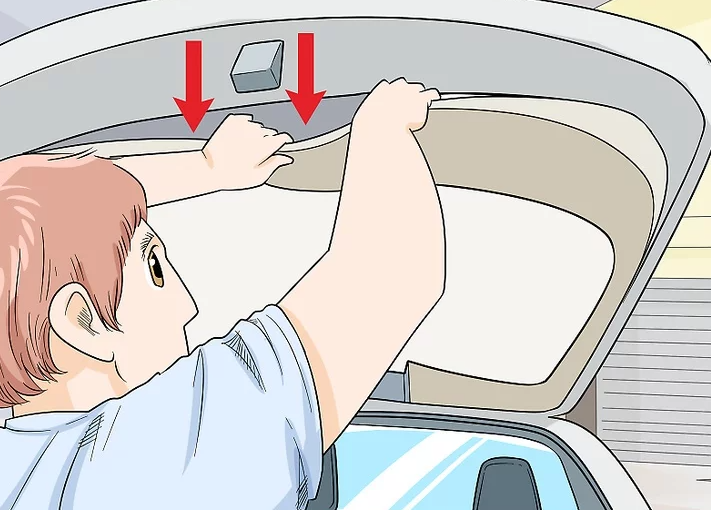
Removing this panel will expose the car’s rear wiring chambers.
- Drill a small hole in the license plate mounting area.Make sure there are no obstructions between the license plate mount and the rear wiring chamber. Then, create a small hole in the car using a power drill equipped with a high-speed twist drill bit. Line up your hole so it is directly behind where your camera’s power and video cable will go.
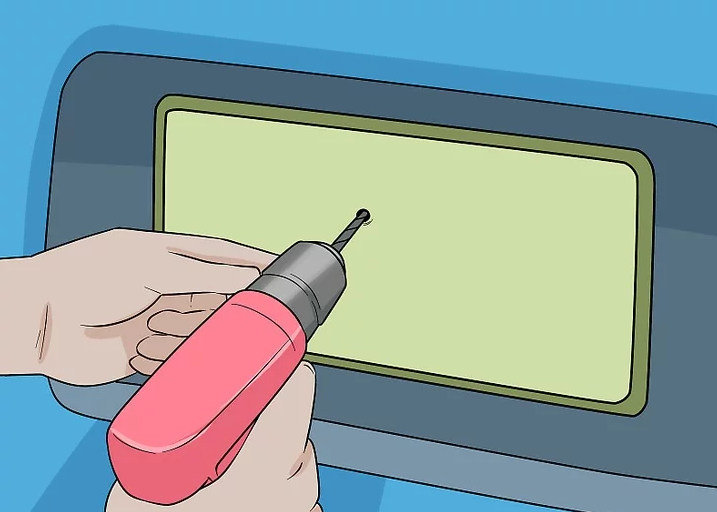
To figure out where to make the hole, hold your camera up to the area you intend to mount it. Then, note the spot where its splitting cord sits.
Create a hole that’s large enough to fit your camera’s power and video cable. If you come across any obstructions, try to remove them. If you can’t, see if you can make a hole nearby.
For most jobs, you’ll need a drill bit that has a diameter between 1⁄8 and 1⁄4 in (0.32 and 0.64 cm).
- Place a rubber grommet around your camera cable.Before running your camera cable into the car, slip a rubber grommet onto it near the non-splitting end. These small rubber washers, available at most home improvement stores, will keep the wire in place and prevent leaks.
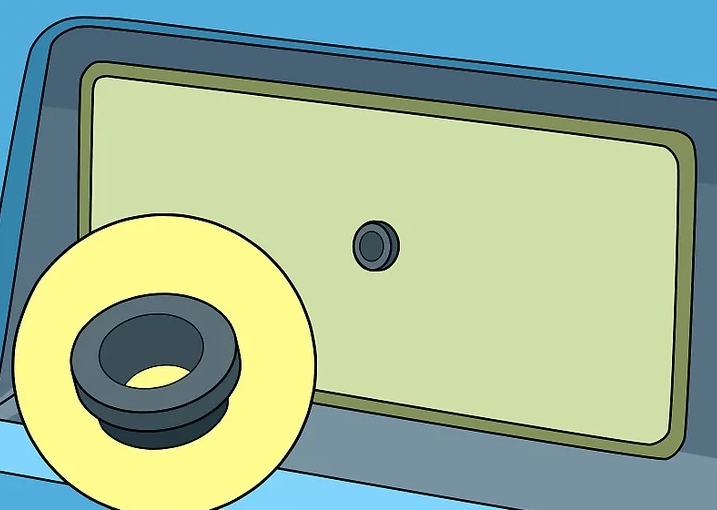
Choose a grommet that’s just large enough to fit inside the drilled hole.
- Run the camera cable into your trunk.Pull the splitting end of your camera’s video and power cable through the drilled hole into the trunk of your car. Make sure you pull it tight so the rubber grommet lodges into the drilled hole.
Your camera cable should run from the outside of the car to the inside of the car.
- Locate your car’s 2 reverse light wires.Reverse light wires are the cords that connect your car’s tail lights to the dashboard. They hook directly into your vehicle’s tail lights and are normally located in the hatch or trunk of your car.
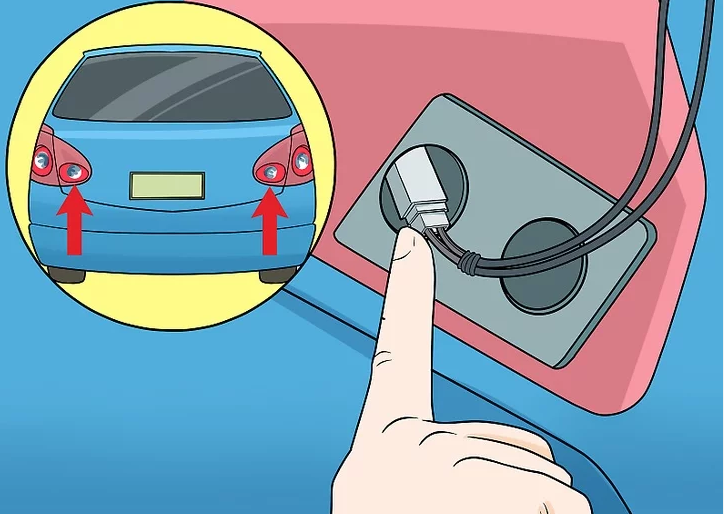
These cords look different for every vehicle so, if you can’t find them, consult your owner’s manual for model specific information.
- Strip and separate your car’s reverse light wires. Using a wire stripper or pliers, peel back the rubber covering the wires. Then, use a screwdriver or other thin tool to poke a hole through the middle of each exposed wire, separating the individual wire strands.
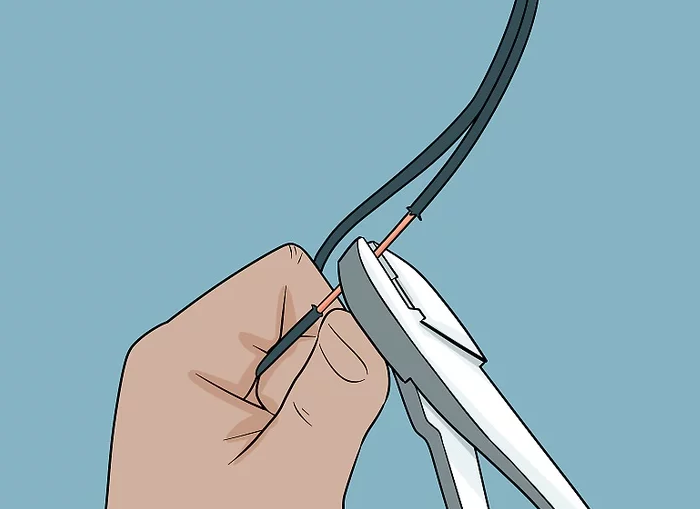
For safety, make sure you do this while the car is turned off.
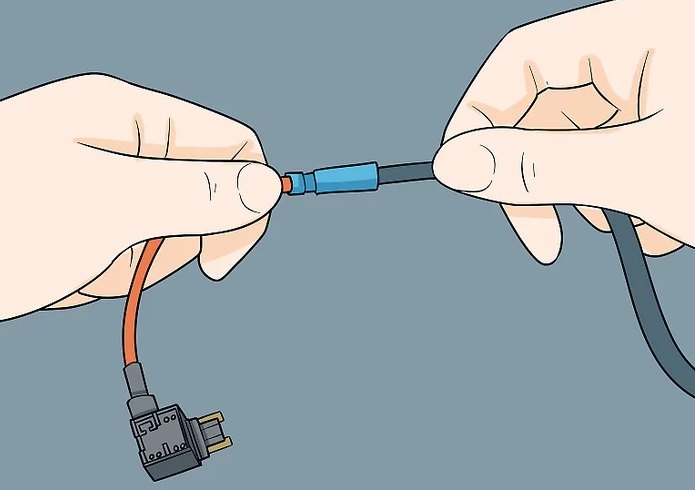
- Fuse your camera wires with the reverse light wires. Attach 1 of your bare wire cables to the camera cord’s power connector. Then, poke your bare wires through the center of the exposed reverse light wires and twist them together. For safety, make sure you wrap the combined wires in electrical tape.
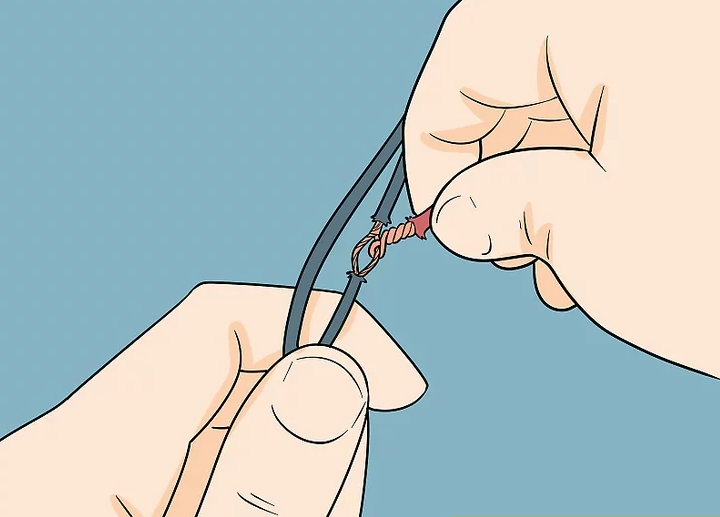
Make sure you poke your positive (usually red) bare wire through the positive reverse light wire and the negative (usually black) bare wire through the negative reverse light wire.
Part3
Putting in Your Monitor
- Route your camera’s video cable to the front of the car.Connect your RCA cable to the camera cord’s video connector if necessary. Then, run it through your vehicle to the area by the fuse box. Depending on your vehicle model, you’ll usually be able to do this by peeling back the automobile’s headliner or side panels and pulling your cable through the exposed chamber.[10]

For certain trucks, you may need to run the video cable through the vehicle’s frame rail.
In most cars, you’ll find the fuse box underneath the steering wheel.
- Fix external monitors to the front windshield.If you’re installing an external monitor, first attach your device’s included mount to the windshield by following the manufacturer’s included instructions. Then, hook your monitor onto the mount.
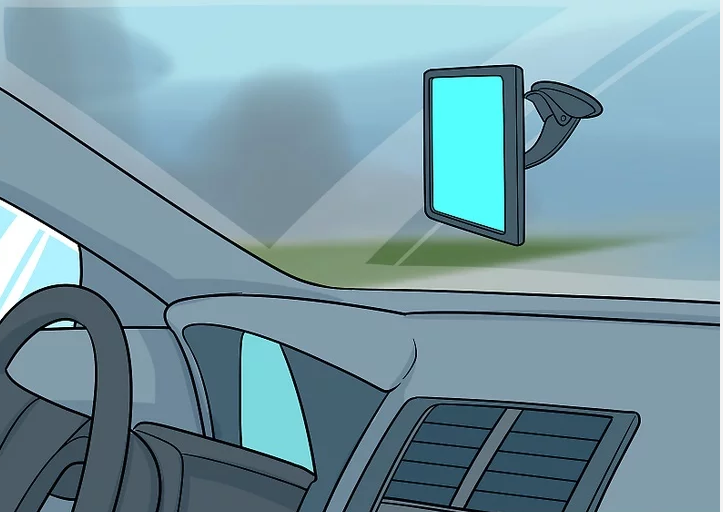
Most external monitors use a suction mount, though others may come with a more complex mounting system.
- Attach internal monitors to the rear-view mirror or mirror mount.For certain internal monitors, you’ll need to clip the new device onto your current rear-view mirror. For others, you’ll need to take off the mirror and slide your monitor into the pre-existing mirror mount.
Some internal monitors may come with their own mounting system that you’ll have to attach to the car’s front windshield.
- Run the monitor’s splitter cable to the fuse box.If necessary, hook your monitor’s power and video cable into the device. Then, route the cable from the monitor to the area next to the fuse box.
If you’d like, use a trim removal tool to pop out the headlining panel directly above your windshield. Then, run your cable through the exposed chamber.
- Connect your monitor’s camera cable to the RCA cable.After routing your monitor’s splitter cable, connect the video end of the cable to your camera’s RCA cord. Then, wrap the connected cords with electrical tape to hold them together.
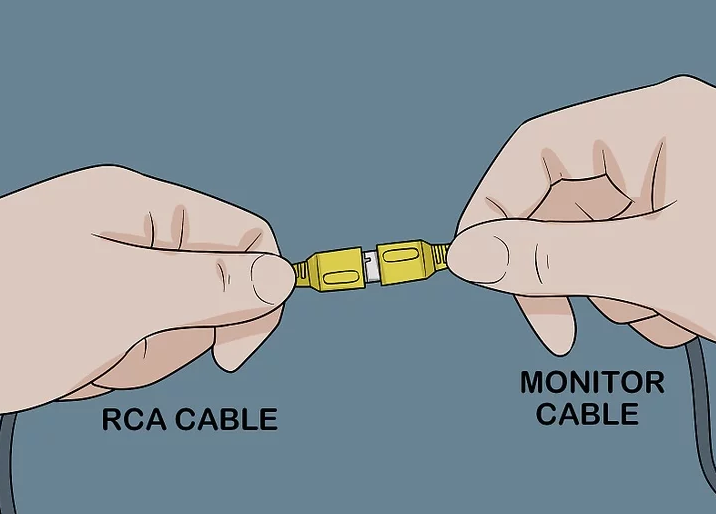
If your RCA and video cables have the same ends, you may need to purchase an RCA male to female converter cord. You can find these at most electronic stores.
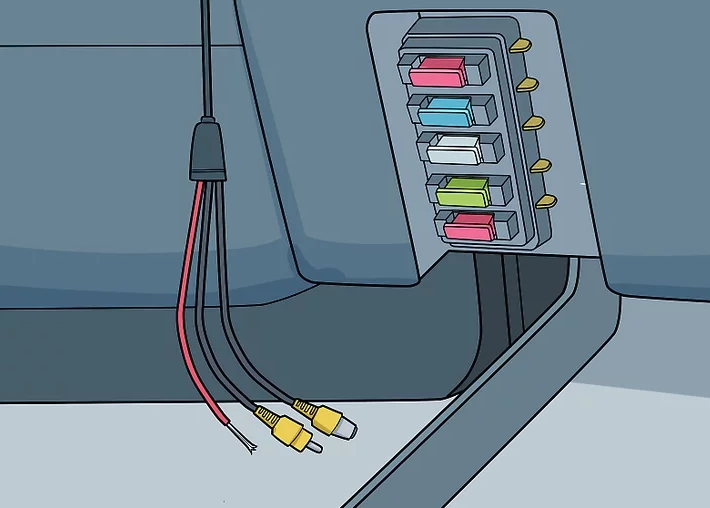
- Attach your monitor’s power cable to a fuse tap.Connect your remaining bare wire cable to the backup monitor’s power cord. Then, push the positive (usually red) end of the bare wire cable into the open end of a fuse tap. Finally, crimp the 2 cables together with a pair of pliers.[13]
A fuse tap is a small cable that converts a bare wire into a fuse signal. You can find them at most auto part stores.
If you’d prefer, you can leave the bare wire cable off and connect your camera’s power cable to a cigarette lighter adaptor. Then, plug this adaptor into your car’s cigarette lighter receptacle for power.
- Plug the fuse tap into the fuse box.Locate your fuse box and open it up. Then, plug your fuse tap into an open fuse cell. If necessary, check your fuse box’s lid or your vehicle’s instruction manual to see which slots are open.
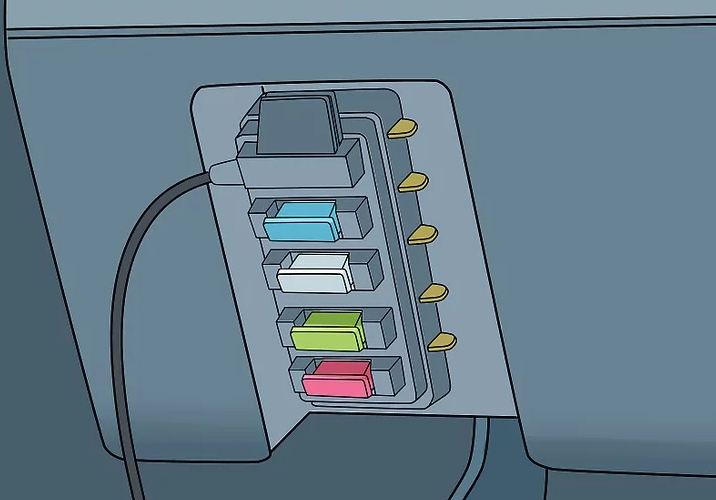
After attaching your fuse, consider taping all your wires together using electrical tape to get them out of the way.
Part4
Mounting the Camera
- Connect your backup camera to its power and video cable.Return to the back of your car once you’ve installed the rear-view monitor and all the necessary camera cords. Close the trunk if necessary, then connect the backup camera to its power and video cable.
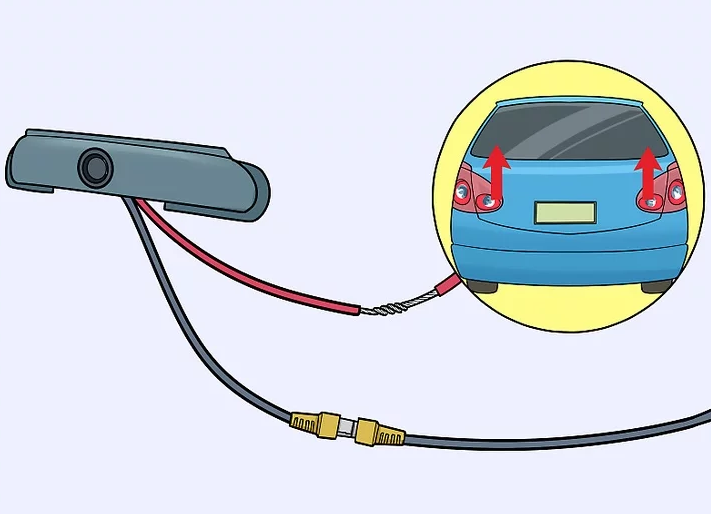
Your camera’s power and video cable should be sticking out of the hole you drilled in the license plate mounting area.
- Mount the camera to your license plate.If the camera attaches to the front of your license plate, fix it to the plate by following the manufacturer’s included instructions. If the camera attaches to the back of your license plate, line the device up with the plate’s fastener holes and thread screws through them.
In most cases, you can attach a rear-view camera to the back of your license plate using the screws you removed from the car earlier.
- Reattach your license plate and trim panels.Using a Phillips head screwdriver, put your rear license plate back on your vehicle. Once you’ve reattached it, give the license plate and backup camera firm tugs to make sure they’re secure.
If you haven’t already, reattach your car’s interior trunk panel and other trim panels by pressing them back onto the vehicle.
- Test the camera to make sure everything works.Before using your new camera on public roads, test it in a safe area like your driveway. If it turns on, place a large, durable object like a trash can behind the camera to see how distorted the image is. If it does not turn on, read your installation manual for troubleshooting information.
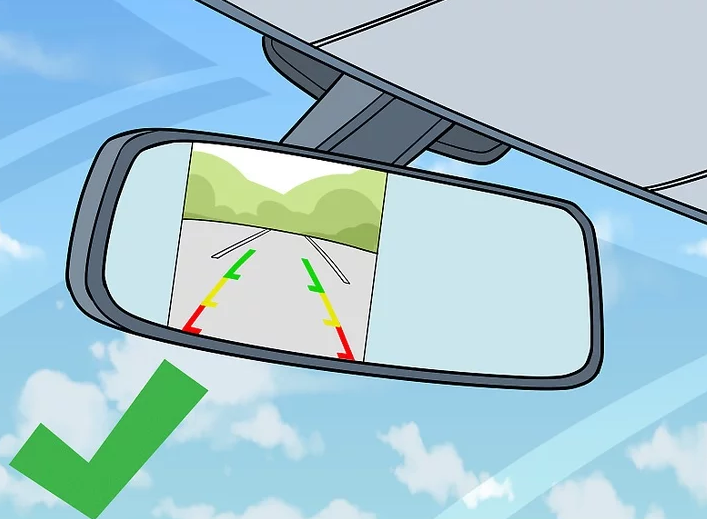
In many cases, rear-view camera malfunctions are caused by loose or improperly connected wires.
Q&A:
Q: I hooked the camera up and it just flickers. Any advice?
A: You may want to ensure all cables and connections are secured tightly. Double check that all connections are correct. If this doesn't work, check to see if the camera chosen is in good shape and isn't physically damaged.
Q: Suzuki installed reverse parking camera in my Swift Dzire Zxi. But the camera shows upper view and not the ground below. What can I do ?
A: Make sure that the camera is installed the correct way (not upside down), and check the position of the camera mounted. Take it back to the dealer that installed it and ask them to check the alignment and fit.
Tips:
Though most car dealers and mechanics will not install aftermarket backup camera systems, many audio and electronic shops will.
Warnings:
Make sure you turn the car off before working with bare or stripped wires. If you need to touch exposed wires while the car is on, put on a pair of rubber-insul gloves.